Today, we introduce an additional level of security to the Argent Multisig: Ledger as a signer.
By adding Ledger to your Argent Multisig, you’ll combine the security of Argent with that of the industry's leading hardware wallets. Trusted by the Starknet Foundation, the Argent Multisig is the go-to wallet for companies, protocols and DAOs building on Starknet.
This tutorial describes how to create and join a new multisig with Ledger. If you want to add Ledger as a signer to an existing multisig, please refer to this article.
Before you start, you will need:
- Argent X installed on your browser
- A Ledger wallet (Nano X or Nano S Plus)
- The Starknet app installed on your Ledger, using Ledger Live
Create a new multisig with Ledger
You can add Ledger as a signer to an existing multisig, even if you're already an owner of that multisig with an Argent X signer pubkey.
Step 1: Create a new multisig
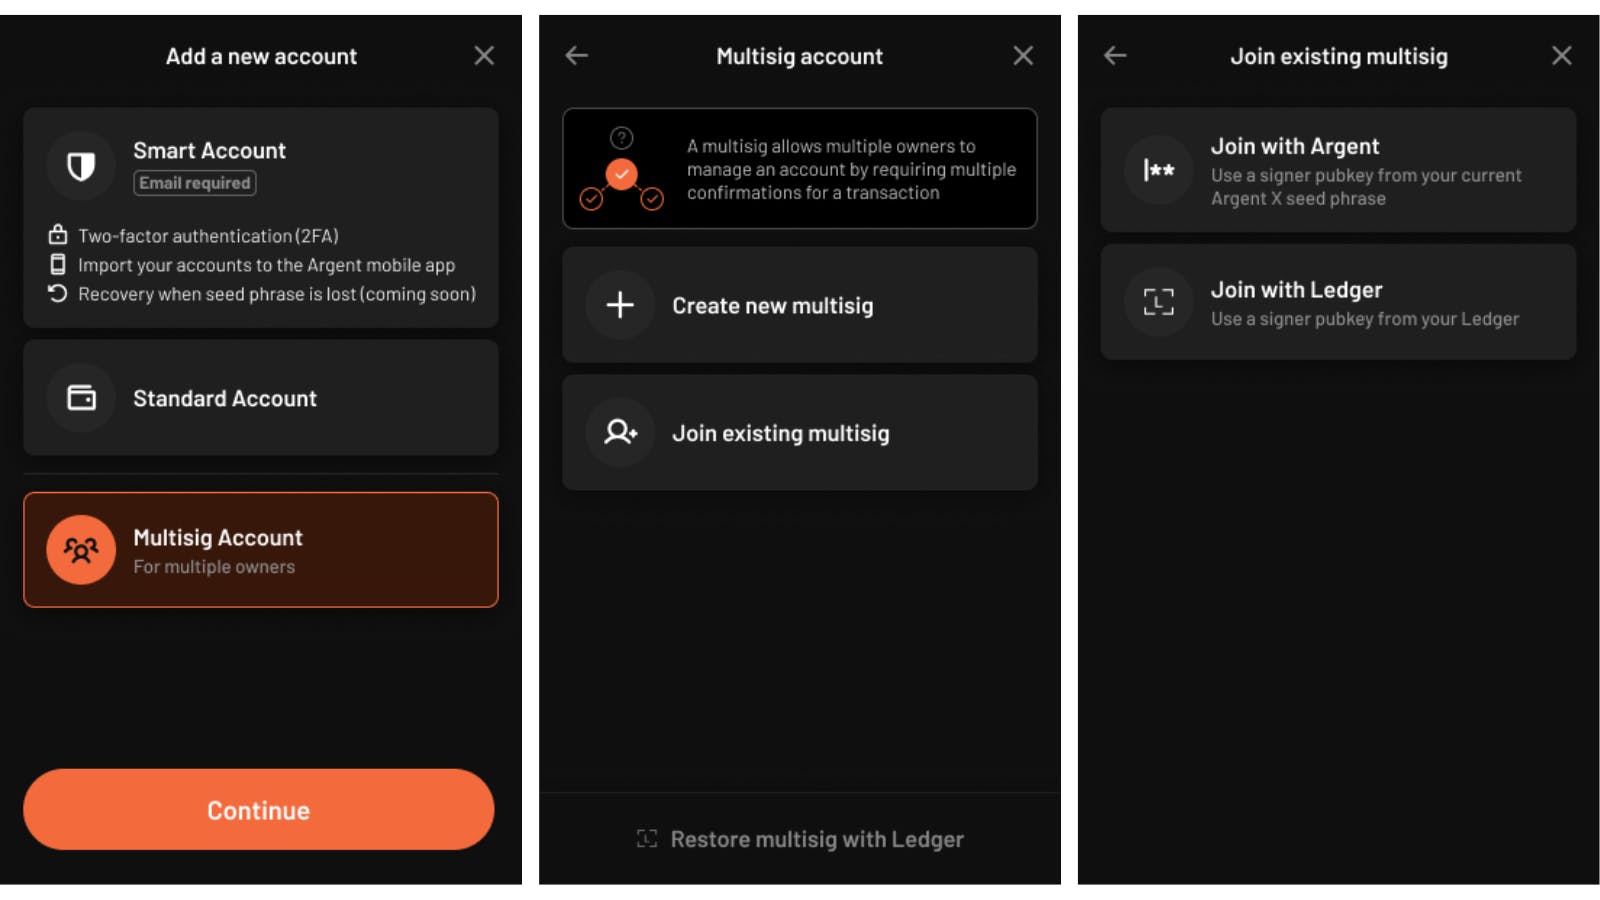
Open Argent X, go to accounts and add a new account. Select “Multisig Account”, "Create new multisig" and "Create with Ledger".
Step 2: Connect your Ledger
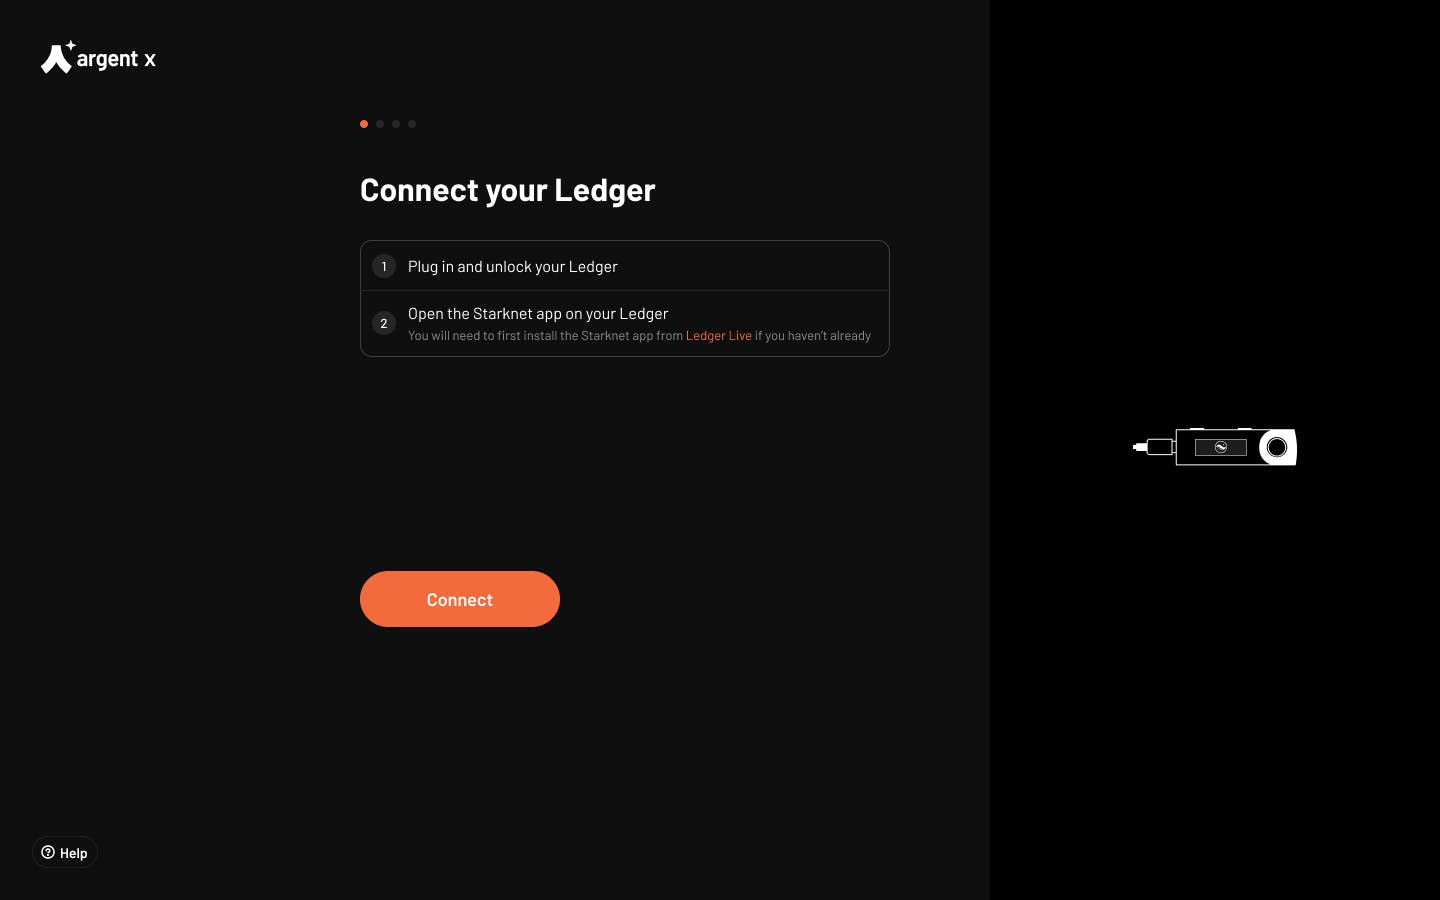
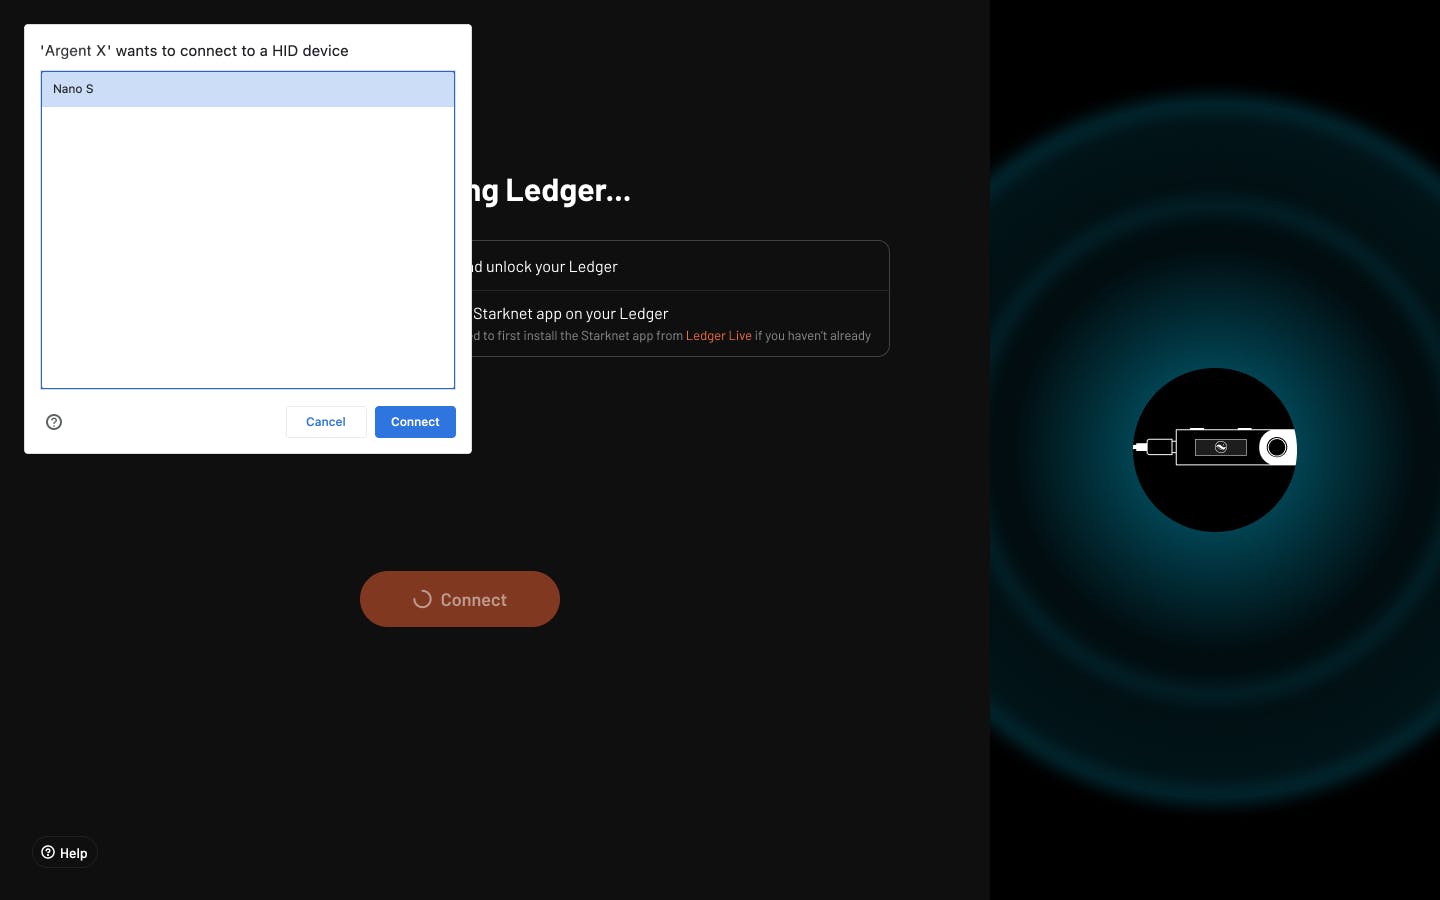
You will be prompted to plug in and unlock your Ledger. Then, open the Starknet app in Ledger and click “Connect”. Before doing this, ensure the Starknet app is installed on your Ledger from Ledger Live.
Step 3: Add owners
Your signer pubkey is generated from the Ledger. You can now add the signer pubkeys of the other multisig owners and click “Next”. You can add as many signers/owners as you want.
For more information on how additional owners can generate a signer pubkey, see Join a new multisig with Ledger section below.

Step 4: Set the multisig threshold
Select the threshold. This is the number of valid signatures required to execute a transaction. It is recommended to use a n-of-m signatures scheme with n < m (e.g. 3 out of 4).. Then click “create multisig”.

Step 5: Fund and activate your multisig
Congrats, your multisig has been created ! Don’t forget to fund your Multisig with some ETH to activate it.

Step 6: Sign with Ledger
Next time you need to sign a multisig transaction, you will be prompted to connect and confirm with Ledger.

Join a new multisig with Ledger
Step 1: Join an existing multisig
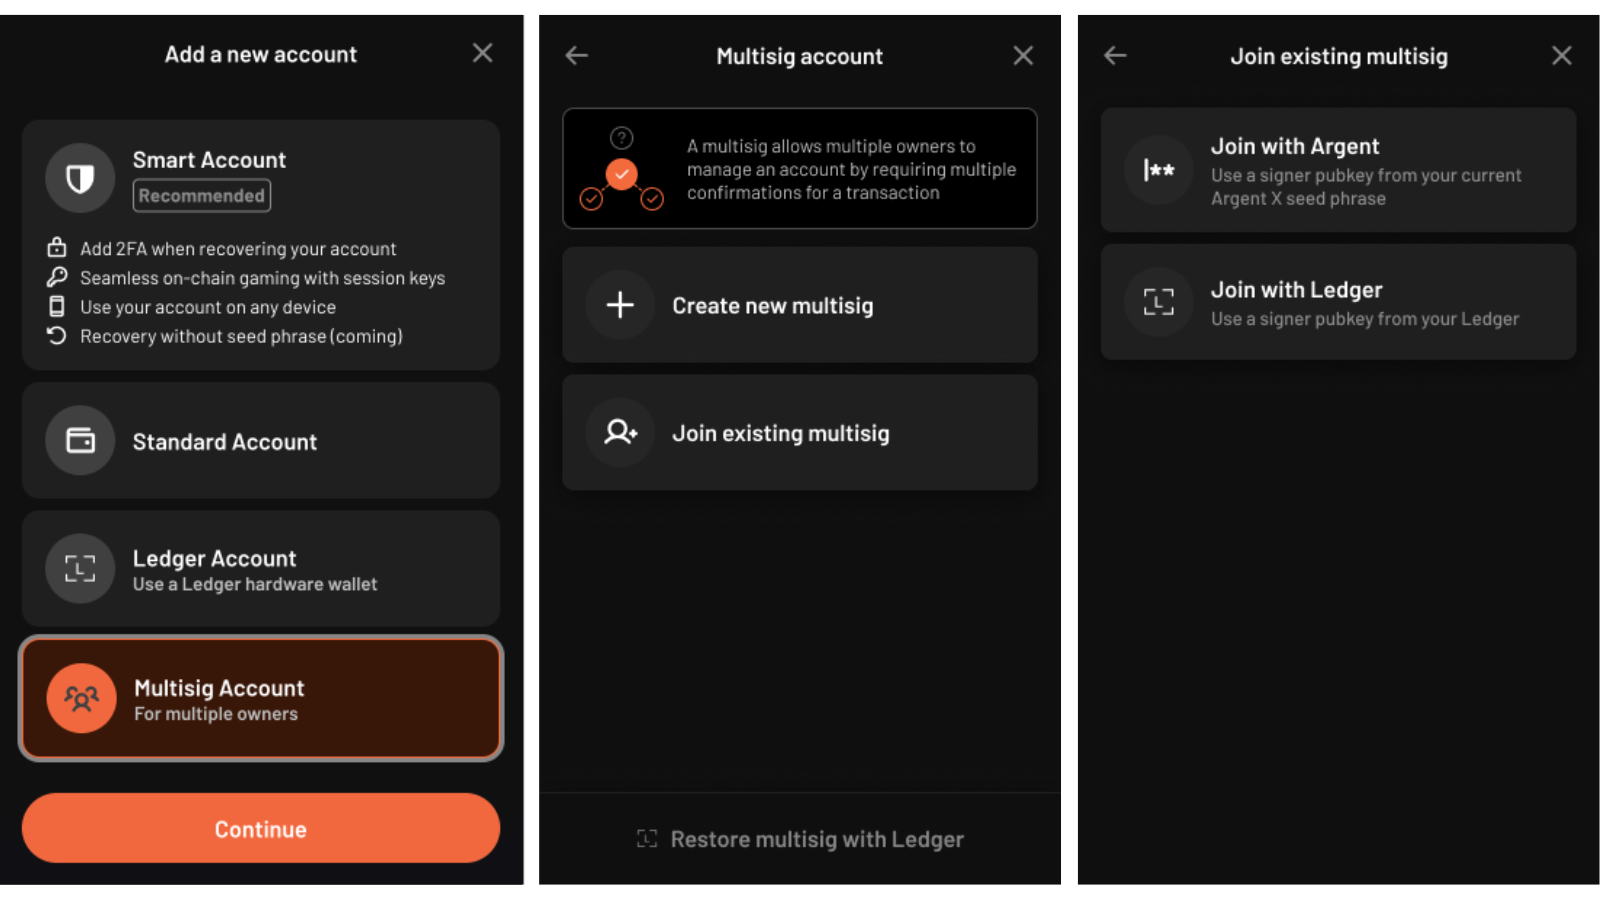
Open Argent X, go to accounts and add a new account. Select “Multisig Account”, “Join existing multisig” and “Join with Ledger”.
If you don’t have a Ledger device, you can also join a multisig using “Join with Argent”.
Step 2: Connect your Ledger
You will be prompted to plug in and unlock your Ledger. Then, open the Starknet app in Ledger and click “Connect”. Before doing this, ensure the Starknet app is installed on your Ledger from Ledger Live.


Step 3: Share your signer pubkey
Your signer pubkey is generated from the Ledger. Copy the signer pubkey and share it with the multisig creator. Then click “Finish”.

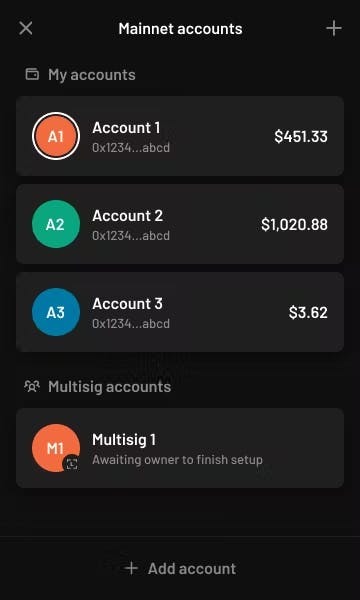
Step 4: Wait for creator to finish setup
Wait for the multisig creator to add your signer pubkey to the Argent Multisig (see above Step 3: Add owners). If needed, your signer pubkey can be retrieved by clicking on the multisig in the account list.
The safest wallet on Starknet
Integrating Ledger into the Argent Multisig has been our most requested feature. That’s why we made it a top priority to support Ledger from day one of their Starknet launch.
Start leveraging the security of one of the industry's leading hardware wallets, and customise your Multisig setup in a way that suits you. If you’re looking for the safest place to store your team’s crypto assets, the Argent Multisig is your best option.
We want to build a product that suits your needs, so if you have any questions, feedback, or requests, please reach out to Antoine, I’d love to help you build on Starknet with Argent.
For more developer resources, follow us across our socials:
Argent Twitter — @argentHq
Argent Engineering Twitter — @argentDeveloper
LinkedIn — @argentHq
Youtube — @argentHQ

.avif)


