


This tutorial will guide developers through implementing the Argent Invisible SDK. The SDK leverages two of our products: WebWallet and Session keys.
We believe that a good UX starts from a seedphrase-less wallet, that’s what the Webwallet does. Prompt your email address, enter the pin code, your password and bang, you’re in.
With Session keys, the user can delegate the execution of certain actions to the Dapp itself.
If you’ve used the Telegram Wallet SDK in the past, you will notice a lot of similarities. It is also super easy and quick to implement.
In this tutorial, we will build together the base structure of a Minesweeper game.We will use Dojo. Dojo is a Cairo framework that allows developers to build provable complex systems like full on-chain games. It comes with several tools for building, deploying, managing and indexing your project. It’s been the go-to tool for any game dev on Starknet for the past year. It’s my first time implementing something with Dojo so let’s learn together !
I’m Meck and I’m a Devrel at Argent ✌️.
DISCLAIMER: yes, this implementation wouldn’t work for a real game. I chose the simple way for the tutorial, some values are hardcoded. Don’t blame me for that 😇
The SDK is implemented in the last section of this blog post.
Introduction to Dojo:
Dojo is a Cairo Framework that helps developers to build on-chain games. It provides a comprehensive suite of tools and patterns designed to make blockchain game development more accessible and efficient.
Dojo is comprised of 3 main concepts:
- Models: Similar to database entries. I personally think of models as the “types” of my project. They provide a clear blueprint for your game's data structures. A model can be the enum of possible directions, characteristics of your hero, describing equipments, state of a game etc etc.
A possible model for my minesweeper could be:
#[derive(Drop, Serde, Debug)]
#[dojo::model]
pub struct Tile {
	#[key]
    pub game_id: u32,
    #[key]
    pub x: u32,
    #[key]
    pub y: u32,
    pub state: TileState, // Revealed, Hidden, Flagged
    pub has_mine: bool,
    pub nearby_mines: u32,
}- Systems: Where your game logic is implemented. It is similar to a Cairo contract. Macros are different. There is also no constructor. Logic only. For a minesweeper we could imagine functions like
init_game,revealorflag
#[dojo::contract] // different macro
pub mod minesweeper {

    // ALL THE IMPORTS

    // Declare events if you need

    fn reveal(ref self: ContractState, game_id: u32, x: u32, y: u32) -> bool {
        // Get world and caller
        let mut world = self.world_default();
        let caller = get_caller_address();

        // Get game state
        let mut game: Game = world.read_model(game_id);
        assert(game.player == caller, Errors::CALLER_NOT_OWNER);
        assert(game.state == GameState::Active, Errors::GAME_OVER);

        // Get board using game_id
        let board: Board = world.read_model(game_id);
        assert(x < board.width && y < board.height, Errors::TILE_OUT_OF_BOUNDS);

        // Get tile using game_id
        let mut tile: Tile = world.read_model((game_id, x, y));
        assert(tile.state == TileState::Hidden, Errors::TILE_ALREADY_REVEALED);

        // Reveal the tile
        tile.state = TileState::Revealed;
        world.write_model(@tile);

        // If mine is hit, game over
        if tile.has_mine {
            game.state = GameState::Lost;
            world.write_model(@game);
            return false;
        }
        true
    }

    // Other functions
}
- World: It’s the heart of your project. It connects models and systems, stores the state of the game. The World contract ensures consistency, manages authorization, and orchestrates interactions between different parts of your application.
Tutorial
Part 1: Setting Up the Development Environment
- Install Dojo
Follow the instructions here → https://www.dojoengine.org/getting-started
2. Update Scarb
Instructions are here —> https://docs.swmansion.com/scarb/ asdf is nice.
3. Create a folder for the project. Run: npx @dojoengine/create-dojo start -t example-vite-react-sdk
This will create a project with 2 subfolders, 1 for the contracts and the other for the frontend.
That’s it for the overall setup.
Part 2: Implement the Game Logic with Dojo
Write the contracts
In the contracts folder, we will replace the default code by ours. We need to make the structure of the package cleaner since our project will be a bit more complex. You have basically two different types of things to write in a Dojo project, the models (the types) and the systems (the logic).
Put your different models in a Models folder. Look at how I did it → my repo
For the systems, change the name of the file to minesweeper.cairo (or whatever game you are trying to build).
As you would do in a Starknet contract, write your interfaces. Then, write the actual mod. A few custom imports from the dojo lib are required:
#[dojo::contract]
pub mod minesweeper {
    use dojo::model::{ModelStorage, ModelValueStorage};
    use dojo::world::{IWorldDispatcher, IWorldDispatcherTrait};
    use dojo::world::{WorldStorage, WorldStorageTrait};
    use dojo_minesweeper::models::game::{Game, GameState};
    use dojo_minesweeper::models::board::{Board, BoardTrait};
    use dojo_minesweeper::models::tiles::{Tile, TileState, TileTrait};
The full implementation is here (remember the disclaimer at the beginning of the article ).
Of course, don’t forget to write your tests and to declare every file in lib.cairo !
To test or build your project, with dojo we don’t use scarb, we use sozo.
You can run commands like sozo build or sozo test
Dojo comes with 3 different tools, sozo, katana and toriii .
Sozo = build/migration/deployment tool, katana = devnet and toriii = indexer.
To run the katana devnet, I do: katana --dev --dev.no-fee --http.cors_origins "*” . This will create a local node with prefunded accounts. The node should be available at localhost:5050.
Then run sozo migrate . This will deploy your dojo contracts on your katana node. You will get a world address. With this address you can then launch a toriii instance with the command:
torii --world world_address --http.cors_origins "*” .
With this setup you can easily test and interact with your app locally.
Sepolia Deployment
To go further and deploy to sepolia, I can’t explain the process better than it is here → https://www.dojoengine.org/tutorial/deploy-to-mainnet/main
DOJO_ACCOUNT_ADDRESS and DOJO_PRIVATE_KEY is the keypair used to deploy the contracts. You can take it from your Argent X sepolia wallet for instance.
The Dojo version is used is v1.1.2 .
Part 3: Frontend
Now the fun stuff.
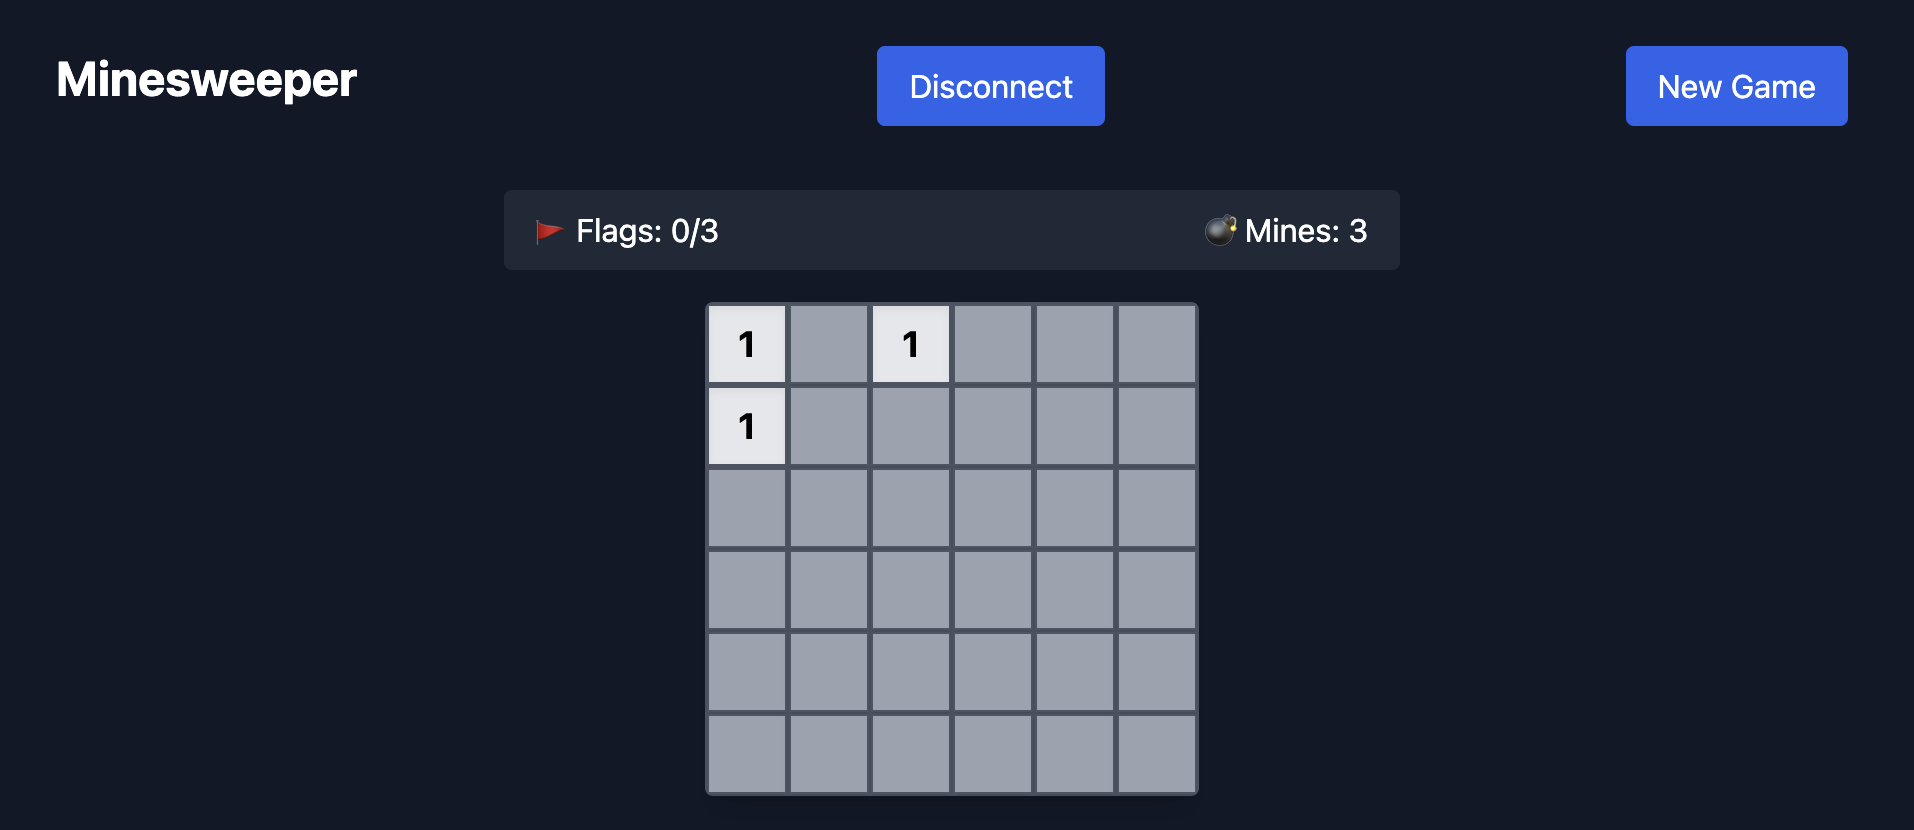
This is what I’m building:
Dojo setup
You’ll have to modify and fix a few things to adapt the code to your project.
From the frontend folder, run this: DOJO_MANIFEST_PATH="../contracts/Scarb.toml" sozo build --typescript --bindings-output ./src/dojo/
You’ll need to configure the dojoConfig.ts file. Update the manifest path and the config accordingly.
I let you look at my code on Github and compare it with the example code.
The default project uses Starknet-react. At the time of writing, starknet-react isn’t compatible with the Invisible SDK, you can remove every hooks and functions related to this.
Get Data
In the App.tsx component, you’ll see that there is two useEffect. One calling (dojo)sdk.subscribeEntityQuery and the other calling (dojo)sdk.getEntities . The dojo sdk calls the indexer to fetch the data.
Update the values according to your project.
Write Data The example project comes with a useSystemCalls hook. This is where you implement contracts interactions. In my case, I’ll have to implement to contract calls, init game and reveal .
In the code, you’ll see this function call: await client.actions.spawn(account!); . In my case, this will be
const res = await client.minesweeper.initGame(
        account,
        BigInt(gameId),
        BigInt(width),
        BigInt(height),
        BigInt(minesCount)
      );
It uses what’s inside dojo/typescript/contracts.gen.ts (what has been generated by the command I talked about at the beginning of this section DOJO_MANIFEST_PATH…..). initGame is declared there.
Have a look at my repo to get the full example.
Invisible SDK
To install the SDK, run: pnpm add *@argent/invisible-sdk .*
I’ve created a invisible-sdk.tsx which gathers all the sdk logic. You can implement it directly in your code but I prefer it that way, it makes the code more structured.
Let’s go through this file function by function.
export const argentWebWallet = ArgentWebWallet.init({
  appName: 'Minesweeper',
  environment: 'sepolia', // mainnet or sepolia
  sessionParams: {
    allowedMethods: [
      {
      // game contract address
        contract:
          '0x047b1867577b88f63fd38ce0565881c27eeddf757af437a599cea7a1e8bf79f8',
        selector: 'init_game',
      },
      {
        contract:
          '0x047b1867577b88f63fd38ce0565881c27eeddf757af437a599cea7a1e8bf79f8',
        selector: 'reveal',
      },
    ],
  },
});
This is the base of the sdk. Super easy to understand. appName and environment are straightforward. sessionParams is where you configure the calls your users will make with session keys. The allowedMethods array can’t be empty. If you simply want to try the connection, please put a dummy contract address and selector. The npm package example uses a dummy contract.
⏭️
export const connectWallet = async () => {
  try {
    const response = await argentWebWallet.requestConnection({
      callbackData: 'minesweeper_connection',
      approvalRequests: [],
    });

    if (!response) {
      throw new Error('No response from Argent WebWallet');
    }

    console.log('response', response);

    const { account: sessionAccount } = response;

    if (sessionAccount.getSessionStatus() !== 'VALID') {
      throw new Error('Session invalid');
    }

    return sessionAccount;
  } catch (error) {
    console.error('Failed to connect wallet:', error);
    throw error;
  }
};
This is basically your connect button. The requestConnection function opens the webwallet, ask the user to connect, then, ask the user to sign the session (approve session keys configuration). The user will also be asked to approve the spending of tokens (the usual erc20 approve function). In my example, this is not configured, the approvalRequests array is empty. I don’t need that in my game.
You can configure this by doing something like that:
const response = await argentWebWallet.requestConnection({
      callbackData: 'minesweeper_connection',
      approvalRequests: [
	      {
            tokenAddress: "0x049D36570D4e46f48e99674bd3fcc84644DdD6b96F7C741B1562B82f9e004dC7",
            amount: BigInt("100000000000000000").toString(),
            spender: "your dapp contract address",
	       },
      ],
    });
⏭️
export const checkExistingConnection = async () => {
  try {
    const response = await argentWebWallet.connect();

    if (!response) {
      return undefined;
    }

    const { account } = response;

    if (account.getSessionStatus() !== 'VALID') {
      return undefined;
    }

    return account;
  } catch (error) {
    console.error('Failed to check existing connection:', error);
    return undefined;
  }
};
If the user has already signed a session, it will remain valid until the expiry (that you can configure in the init function).
To connect and use a valid session, we call the await argentWebWallet.connect(); function.
This is typically called in a useEffect so that it happens automatically.
⏭️
export const useArgentSdk = () => {
  const [account, setAccount] = useState<SessionAccountInterface | undefined>(
    undefined
  );
  const [isConnecting, setIsConnecting] = useState(false);

  useEffect(() => {
    checkExistingConnection().then(setAccount);
  }, []);

  const connect = async () => {
    setIsConnecting(true);
    try {
      const account = await connectWallet();
      setAccount(account);
      return account;
    } catch (error) {
      console.error('Failed to connect:', error);
      throw error;
    } finally {
      setIsConnecting(false);
    }
  };

  const disconnect = async () => {
    await argentWebWallet.clearSession();
    setAccount(undefined);
  };

  return {
    account,
    isConnecting,
    connect,
    disconnect,
    isConnected: !!account,
  };
};
To make my life easier, I’ve created a custom hook which regroups every function I just talked about. I’ve also added a disconnect function. In fact, await argentWebWallet.clearSession(); doesn’t really act as a disconnect function. The session remains valid even if the user calls clearSession. What it does is that it removes the session data from the local storage which will make the checkExistingConnection call fail and show the initial requestConnection button. From a user POV, it behaves like a disconnect button.
The next step is to call this hook in your main component.
const { account, isConnecting, connect, isConnected, disconnect } =
    useArgentSdk();
The account object has a custom type SessionAccountInterface . It is an extended account object from starknet.jsthat include session keys custom endpoints.
You can use this object exactly as you would in any js/ts starknet project.
You can do things like account.execute() for instance.
You might need to convert a SessionAccountInterface to a AccountInterface object from starknet.js. I do it in an ugly but efficient way: account as *unknown* as AccountInterface
🚀 And that’s it, you've implemented the Invisible SDK !
For any questions or requests, my telegram is @Flexouille


